Stampin’ Up! catalog organization labels have made it so much easier for me to keep track of my stamp sets and know at a glance where they came from.
Have you ever pulled out a stamp set and thought, “Now which catalog did this come from?”
That happens to me more often than I’d like to admit!
I keep my stamp sets organized together, and when a stamp set has coordinating dies, I rubber band the dies right to the stamp set case. I do the same thing with my foil dies and coordinating stamp sets.
That system works really well for me, but I still wanted a quick way to look at a stamp set and know which Stampin’ Up! catalog it came from—or if it was an Online Exclusive.
So I made these little labels for myself. And because I figured I couldn’t possibly be the only stamper who could use them, I turned them into a free printable for you, too!
How I Organize My Stamp Sets and Dies
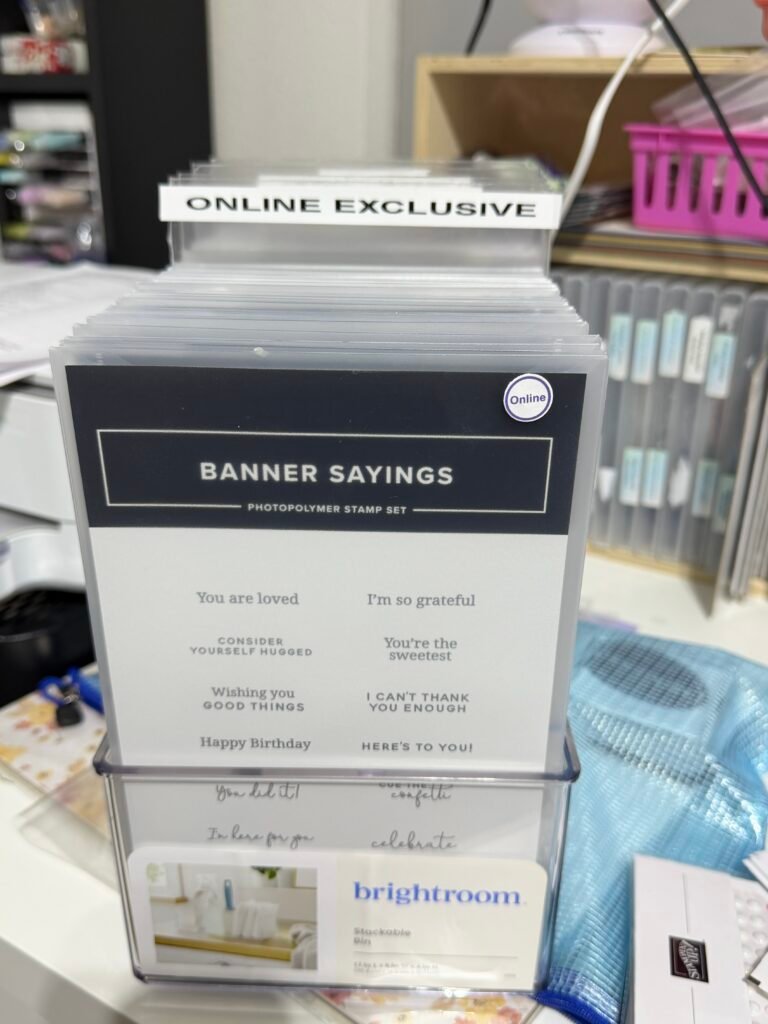
I store my stamp sets upright so I can easily flip through them. When a stamp set has coordinating dies, I keep the dies with the stamp set and rubber band them together.
I do the same thing with my foil dies and coordinating stamp sets.
It’s nothing fancy, but it works!
The one thing I was missing was an easy way to remember which catalog or product release each set belonged to.
That’s where these little labels come in.
Stampin’ Up! Catalog Organization Labels
I created 1/2″ circle labels that I can add right to the front corner of my stamp set cases.
The free printable includes:
- Jan–Apr
- May–Aug
- Sep–Dec
- Online
- Foil
I even made each catalog period a different color, so after using them for a while, I’ll be able to recognize them at a glance.
The Online label helps me quickly identify my Online Exclusive stamp sets, while the Foil label reminds me which sets coordinate with foil dies.
Small label. Surprisingly helpful!
How to Make Your Labels
Print the printable on Basic White Cardstock using Actual Size or 100% in your printer settings. This is important so the circles print at the correct size.
Then:
- Punch each label with a 1/2″ Circle Punch.
- Attach the label to the corner of your stamp set case with a Mini Glue Dot.
- Add a second label when needed—for example, a stamp set might be both Online and Foil.
That’s it.
No complicated craft-room organization system required.
I created this printable for my own stamp and die organization, and I’m happy to share it with you.
The PDF includes two pages of ready-to-punch labels. Just print them on Basic White Cardstock at Actual Size or 100%, grab your 1/2″ Circle Punch, and start organizing. The PDF includes two pages of ready-to-punch labels. Just print them on Basic White Cardstock, grab your 1/2″ Circle Punch, and start organizing.
I created this printable for my own stamp and die organization, and I’m happy to share it with you.
If you know another stamper who would find these helpful, please share this blog post with them so they can download their own free copy too.
Happy organizing—and happy stamping!